New Editors Now Available
All new html editors have recently been introduced into the http://www.thecustomerfactor.com/
They are much more user friendly than the previous html editors and are fun to work with.
We’ll start off with a screenshot:
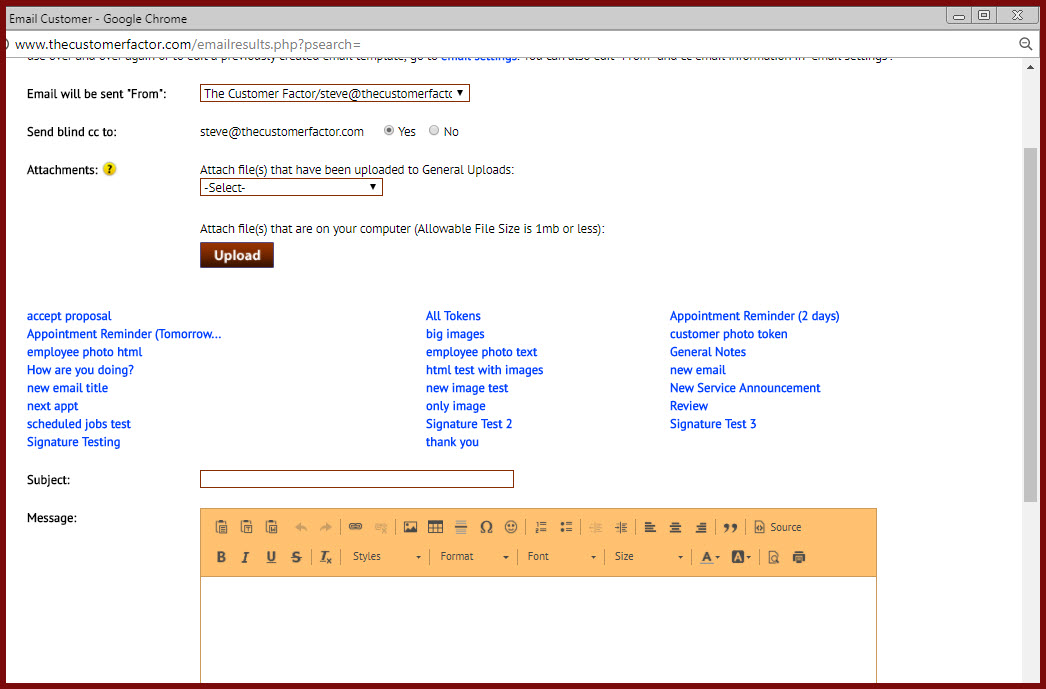
The above is a screenshot showing the html editor within an “email customer” window, but html editors are used throughout CF in all email windows and when creating letters. As a reminder you can email anything within The Customer Factor such as estimates, invoices, payment reminders, statements, and of course general emails (newsletters, limited time discount promotions, etc.). And you can send emails individually or to multiple prospects/customers.
So with these new html editors it’s a great way (and easy way) to “pretty up” each email by inserting a company logo or perhaps incorporating more attractive font/font characteristics and/or adding a splash of background or text color, linking to your website and/or facebook page (even insert the facebook logo), etc. etc.
Just run your mouse over any of the icons at the top of the editor and a tooltip will appear to tell you what the function of the icon is. For example, the 8th icon from the left in top row (with the mountain in it) is for images, so if you run your mouse over it, it’ll say “Image”. Click that and you can upload any image that you’d like to and then insert the image into your email.
All the icons are self explanatory, but I’ll go over how to upload/insert an image since this is a new html editor. It’s a little different method vs how an image was handled in the previous editor.
So this is what you’ll see after clicking the “Image” icon:

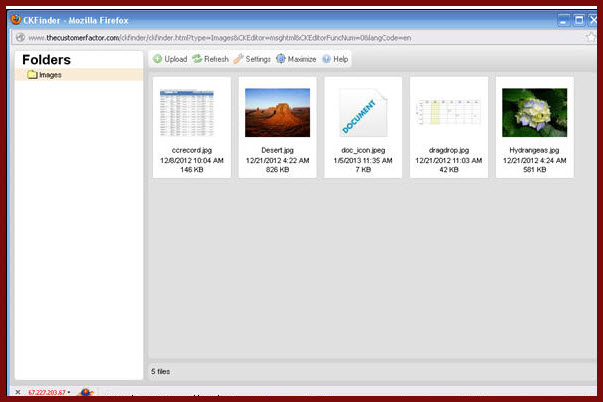
See the “Browse Server” button above? If you click this you’ll be able to see if you previously uploaded the image that you want to insert into the email. (if you know nothing was uploaded previously, then click the “Upload” tab shown in above screenshot). Each user of CF has their own unique folder where their uploaded images get stored in.
So…clicking the Browse Server button results in this window displaying:
If you see the image you want to insert into the email, double click it and this window (the one shown above) will close and you’ll see your selected image in the preview area which I’ll show you in a minute. If you don’t see the image in the above window then all you need to do is click the “Upload” button at the top of the window and upload the image from your computer. You’ll be given an opportunity to browse for it on your computer and then upload it.
Assuming your image was previously uploaded and you’ve double clicked it, you’ll see this:
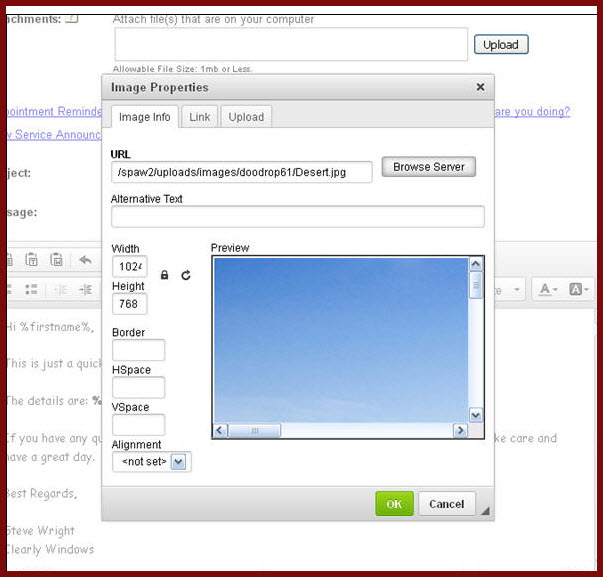
This is probably not the best example because the image is pretty large which means the image doesn’t really fit in the preview window. As you can see the image is extending beyond the preview window area. However, I did want to point out the width and height areas. You can resize the image in this window if you want to and even put spacing around the image (HSpace and VSpace).
You can also just click the Ok button and the image will insert into the email and you can resize it there by grabbing the handles of the image and shrinking or expanding it like this (you have to click on the image to show the handles):
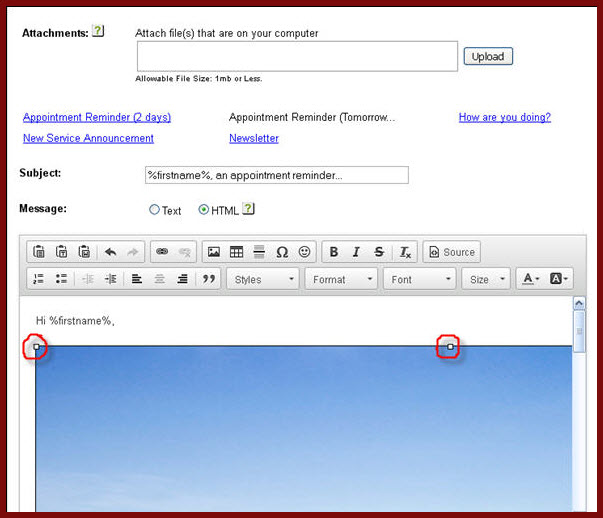
So here’s what I get after manipulating the handles of the image and resizing it:
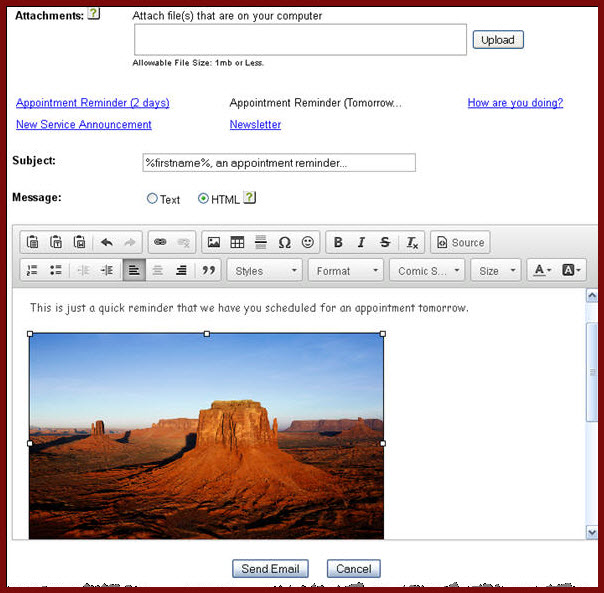
Obviously this image isn’t a good image to include in an appointment reminder email. 🙂 But it provides a good example of how you can upload, resize, and insert images into any email.
If you have any questions, please let us know.
Best,
